*This post may contain affiliate links for which I earn commissions.*
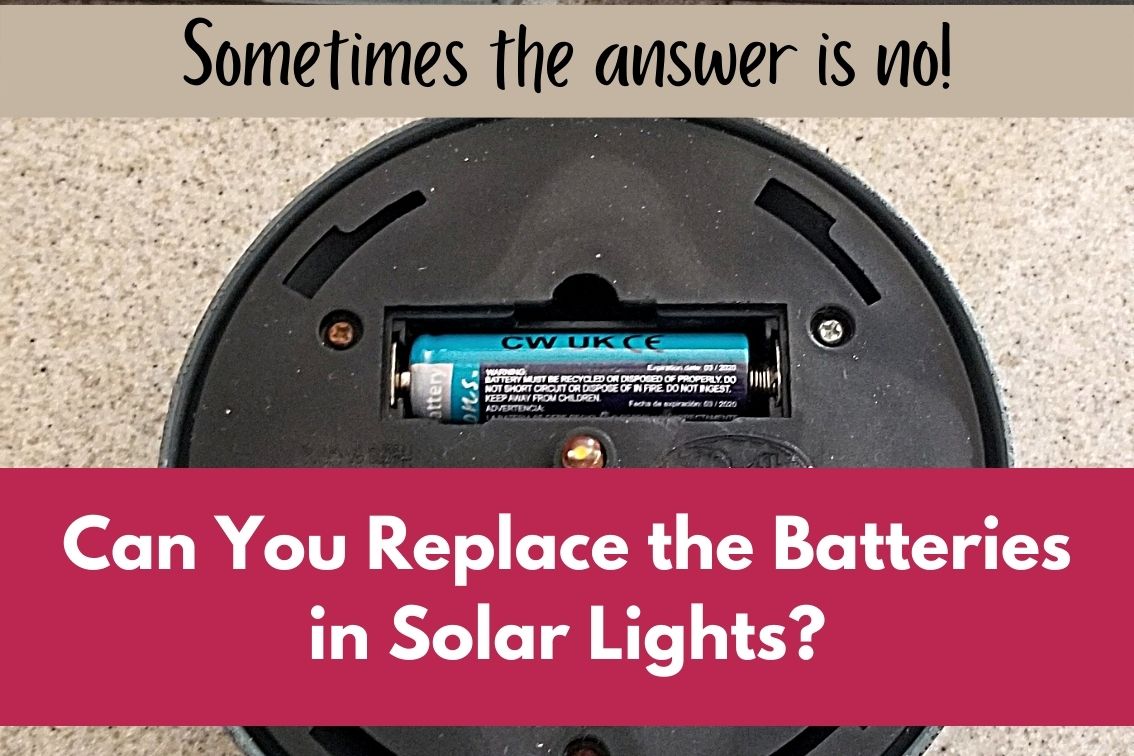
Can you replace the batteries in solar lights? The answer is not always yes. Use the information and steps in this guide to do so correctly.
Solar lights are powered by rechargeable batteries.
The solar panel gathers energy from the sun’s rays and that energy is converted for use by the batteries.
While replacement batteries can be purchased it doesn’t mean your particular light is designed in a way that allows you to easily replace the battery with a new one.
You can usually find the battery inside the light unit but some styles make it easier to reach than others.
How do You Know it’s Time to Replace the Battery?
There are several reasons a solar light has stopped working.
A wire may have come loose, the bulb may have died, your solar panel may be dirty, or the rechargeable battery has stopped working.
The bulbs can last for up to 10 years and batteries for about 3-4.
If you have replacement rechargeable batteries on hand or a similar light that is still working, you can easily run a test to see if the battery has stopped working.
Swap the battery in the non-working light for the same type of battery that you know is working (such as one from another light in the set).
If the light comes on when you cover the sensor then you’ve identified the battery as the problem.
If the light still doesn’t come on you might try cleaning the solar panel.
Solar Lights With a Battery Compartment (Usually 1.2V Ni-Mh AA)
Some solar lights have a battery compartment with a cover that is easily removable – kind of like an electronic toy.
This is the case with my path lights. Replacing the batteries in this style is the easiest of all.
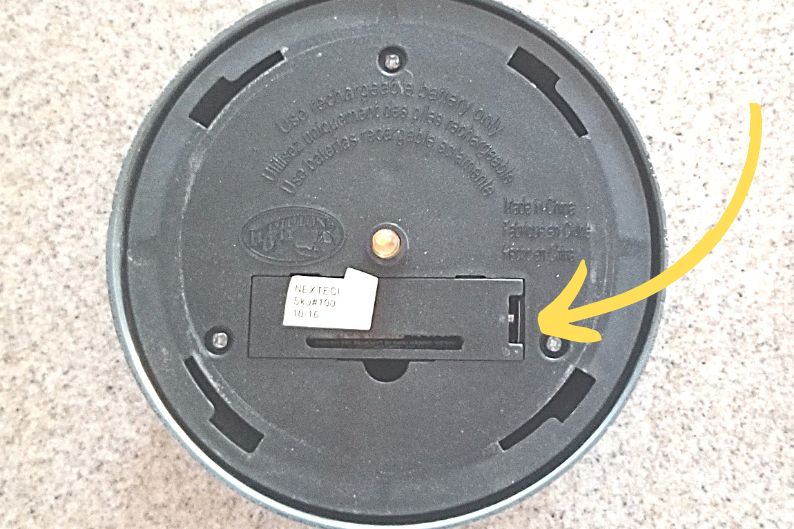
Someplace on the back of the unit, you’ll see a cover with a tiny slot. Just use your fingernail, a flat screwdriver, or the tip of a butter knife in the slot to gently pry open the lid.
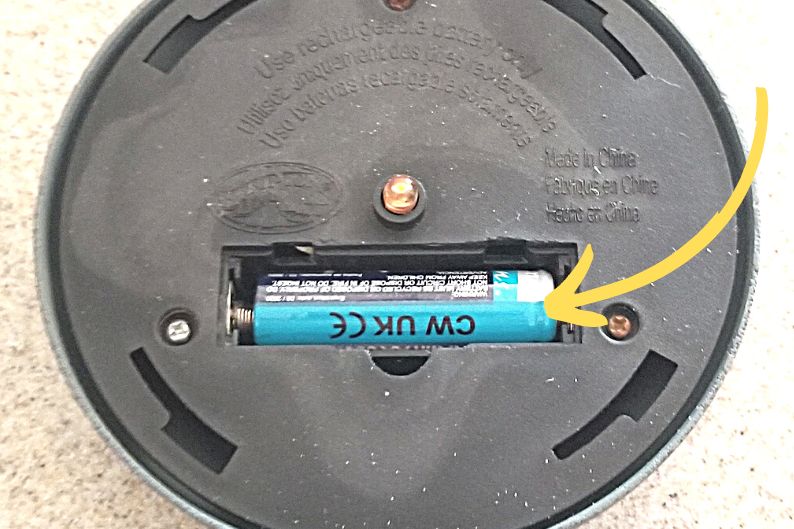
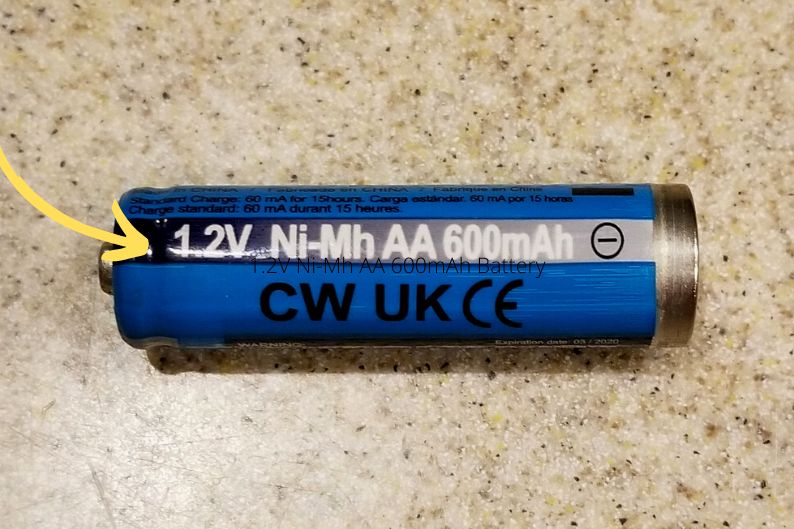
Read the numbers and letters on the battery and buy a replacement that is rechargeable and has the same voltage and capacity (has the same numbers and letters). The replacement does not have to be the same brand.
Mine is using a single 1.2V Ni-Mh AA 600mAh rechargeable battery – basically a AA.
Pull out the old battery, clean the compartment of any debris, and insert the new battery making sure the positive and negative terminals line up with the markings inside the battery compartment.
Test your light to make sure it is working and you’re set.
Piece of cake!
Solar Lights Without a Battery Compartment (Usually Li-ION 18650)
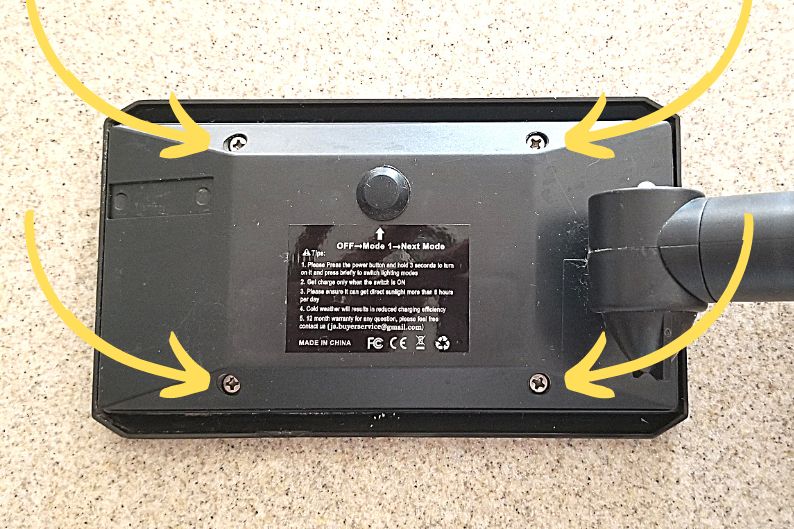
If you don’t see a removable lid for a battery compartment but you see screws holding the parts of the unit together, you’ll have to remove the screws.
Most of my solar spotlights and flowers fall in this category.

Once the screws are removed, carefully pull the two pieces apart. Inside you may find a circuit board with a number of wires attached and you don’t want to accidentally pull any of them loose.
The battery may be encased in some sort of wrap (mine is blue) with two wires running from the circuit board to the battery.
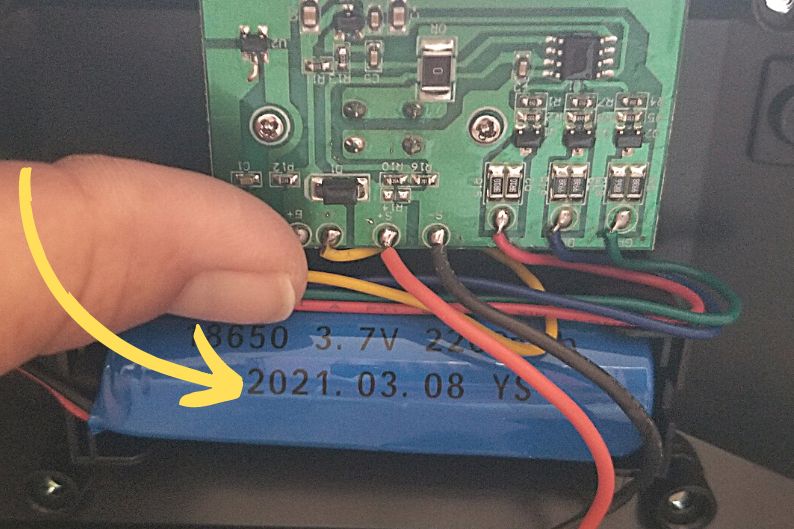
That wrap is a non-conductive material that protects the battery from coming into contact with metal.
The battery may be tucked into a slot similar to a battery compartment but without a cover.
You may need to pull the battery out of that slot or rotate it in place in order to read the numbers printed on the wrap to identify the type of battery used in your light.
My spotlight is using a single Lithium Ion (Li-ION) 18650 3.7V, 2600 mAh rechargeable battery.
The numbers tell you the kind of battery you need to buy as a replacement but batteries that are installed in this manner have an added challenge.
Wires extending from the battery have to connect to the positive and negative battery terminals on the circuit board and those have probably been soldered into place.
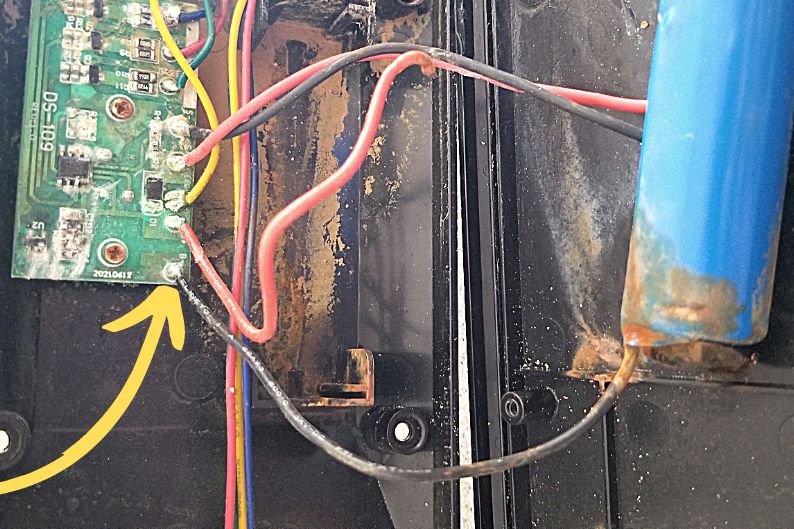
In the image below you can see the black wire running from the battery to the corner of the circuit board. There is no clip or tab holding the wire to the circuit board. Instead, it’s a dob of melted metal. (This light has other issues as it fell in the pool so ignore the white calcium!)
WARNING: I do not recommend this method unless you are truly comfortable working with electric wires. Proceed at your own risk!
If the circuit board connection is fine, you may be able to pull the wires loose from the battery but you’ll still need to connect those loose ends to your replacement battery.
Removing the dead battery may require you to use wire cutters and I can’t stress enough that you need to be comfortable working with electricity and take all necessary precautions.
You’ll need to snip the wires as close to the battery as possible to leave enough length so that you can attach a new battery.
You’ll need to buy replacement batteries of the same type that are wrapped and come with the wires attached.
Sometimes these replacements have a plug-in connector at the end of the wires and unless your circuit board wires had a plug-in connector, too, you’ll have to snip off that connector.
Finally, you’ll need to connect the end of the positive and negative wires on your new battery to the ends of the positive and negative wires connecting to the circuit board.
This video shows you how to do so using Sopoby Heat Shrink Waterproof Connectors which are cheap and don’t require that you do any soldering:
Because the 18650 replacement batteries can cost $8-12 a piece and require some extra work to attach, you may find it cheaper to simply replace the solar light.
No Visible Access to Battery – Seamless Design
What do you do if you don’t see a battery compartment or screws on the back of your solar light?
I have a set of Linkind StarRay solar spotlights that have a seamless design with no access to the battery.
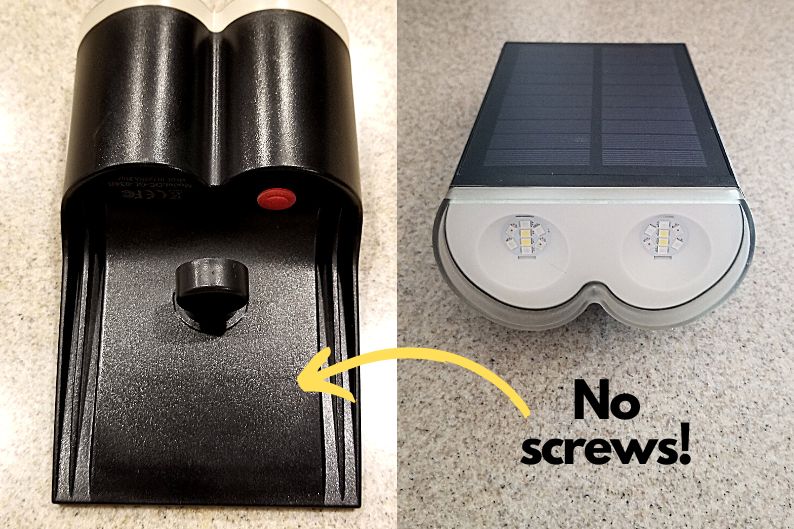
In fact, the seller has stated that you can NOT replace the batteries. When they die you have to buy a new light.
If you find yourself with a set of lights where you can’t replace the battery you could attempt to pry the unit apart, replace the battery and glue the light back together but you may end up damaging the unit or its internal components beyond repair.
You have nothing to lose by giving it a try, though, since the lights aren’t working anyway.
However, again, it may be easier to buy a new one and avoid this style in the future.
Can You Use Regular Batteries Instead of Rechargeable?
For a variety of reasons, you should NOT use regular alkaline batteries in your solar lights.
They are not designed to work with solar energy controllers, could damage your light, and their use might void any warranty provided by the light manufacturer.
Always buy rechargeable batteries that have the same voltage and capacity as the ones you are replacing.