*This post may contain affiliate links for which I earn commissions.*
Tired of tilting, wobbly path lights? Here’s how to keep your solar lights straight up all year long – and the steps are really pretty simple.
I’ll never forget the first time I put ours in along the edge of our patio. I was so excited. I pulled them out of the box, peeled off the plastic cover on the panel, and simply stuck them in the ground.
I was so proud of myself but in just a matter of weeks, I noticed that first one and then another had started to tilt. To make matters worse, they weren’t all leaning the same way.
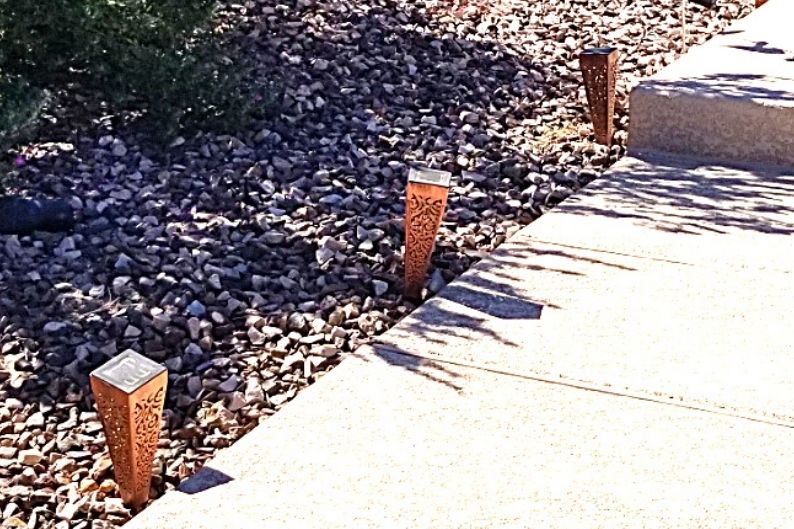
They looked so sloppy.
I should have known to take a bit more time putting them in place. For anything else we’ve had to plant in our yard, we’ve taken extra steps to make sure the base was firmly embedded.
Why didn’t I think to do that with these lights?
As soon as you put them in the ground, rain, wind, and watering systems all start to work against you.
Storms come along, push the lamp portion above the ground back and forth and that causes the stake to shove against the dirt and make the hole in which it was inserted wider than it should be.
If you haven’t taken the time to thoroughly pack down the soil around the stake then it will loosen pretty quickly and that makes your light lean.
I pulled out my lights and started over with a process I now use whether I’m setting up a full pathway set or just a single solar flower.
Before completing the following steps, you might need to start with longer stakes. The ones that came with mine were only 4 inches tall while the light itself was almost 9 inches. Short stakes will cause your lights to lean more quickly. You can get longer replacement stakes online.
Another way to lengthen the stakes is to glue them into longer tubes of PVC pipe. If you happen to have some laying around this method can be a cheap fix.
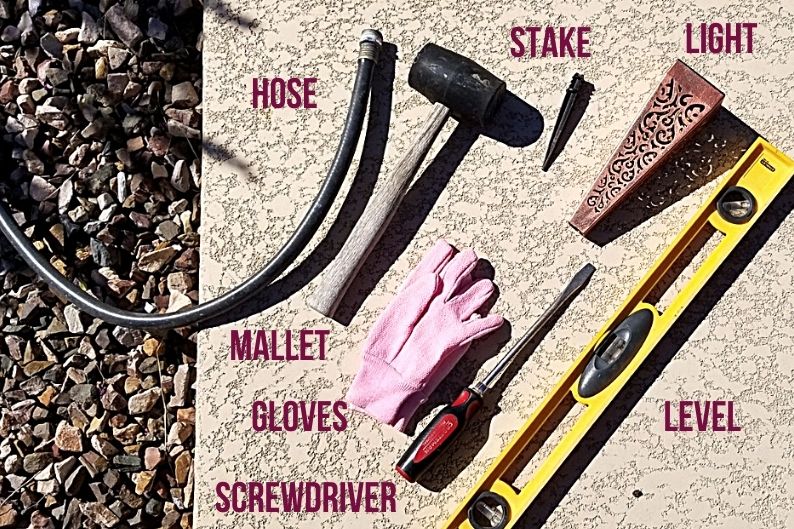
Supplies
You’ll want to gather a few supplies and these are probably things you have around the house so nothing out of the ordinary.
Instructions
First, remove the lamp heads from the stakes. You want to be pushing on the stake itself when you insert it and not the lamp on top. This will keep you from accidentally breaking the light.
Put your gloves on because you’re going to be playing around with wet soil.
Choose where you want to put the stake.
If you’ve chosen a spot covered with gravel, push the gravel out of the way so you can focus on preparing the soil.
You can take this opportunity to build up the height of the area where you’re putting the light if needed. Since mine is going to sit behind a step, I added several shovels of loose soil we had sitting around from another project to raise the ground level.
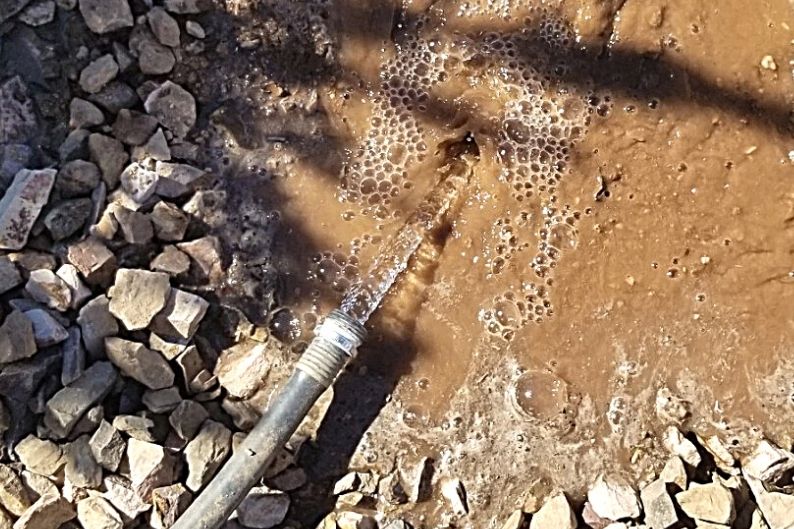
Use your hose to soak your desired spot. Let the water sink in so the soil is moist enough that you’ll be able to insert the stake. (I might have used a bit too much water in the image below but it’s so dry here that it soaks up super-fast.)
When the ground is dry enough to push on but still a bit moist, tamp down the area so it is flat and firm. (If you have a mud puddle on your hands, wait longer or you’ll get splattered!)
At this point, you want to insert the stake into the ground.
Depending on the type of soil you have, you may need to use your long screwdriver to make the initial hole. If so, take your screwdriver and push it straight down into the dirt, pull it out, and then insert the stake.
If your soil is soft enough, just push the stake straight into the ground, instead.
If you run into any rocks or leftover concrete from when your home was built, pull out the stake, remove the rocks, tamp things back into place, and insert the stake again.
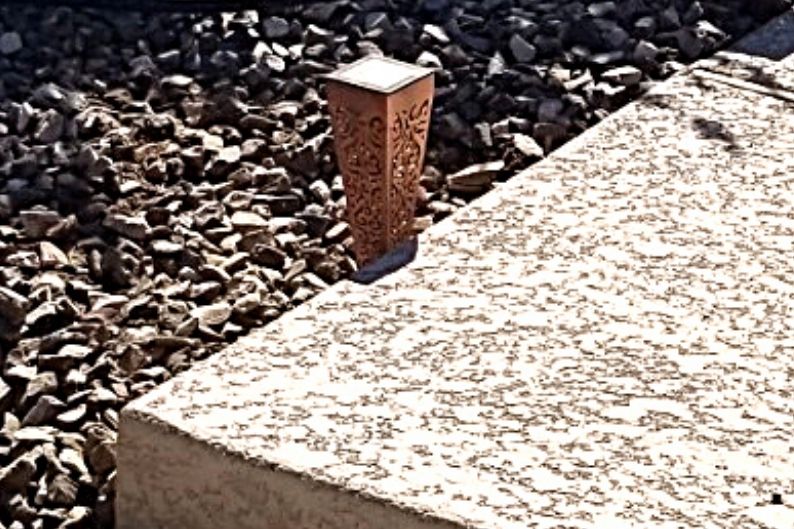
Keep in mind that if you moved gravel out of the way you will have to put that back into place. You might want to leave an inch or two of stake above the ground so that the base of your light isn’t blocked by the gravel.
When the stake is positioned where you’d like, carefully push surrounding soil towards the base of the stake and press firmly.
You want to REALLY pack that damp soil into place so that you know it’s pressing right up against the sides of the stake and filling any crevices.
Use your hammer, mallet, or feet to tamp down the ground around the stake.
NOTE: If you’re inserting a number of stakes – such as for a set of lights – check to see how the lamp attaches to the stake. You might need to make sure you insert each stake the same way so that the lamp heads all point the same direction. This is particularly important for heads that are square or have angles. You want all the sides facing the same way.
Put the lamp head onto the stake and, if necessary, shift the position of the stake so the lamp head is straight. If you brought out your level you can use it to make sure the light head is flat.
Press firmly on the surrounding dirt again to make sure everything is tight.
Finally, push any gravel back into place.
Once the ground has fully dried your light should stand straight, look professional, and stay in place for a lot longer.
Can the stakes be inserted all the way into the ground for stability?
That will help with stability but whether or not you WANT to do so has to do with the light itself. Depending on the style of the light, inserting the stake all the way into the ground could limit the distance to which any light is cast. Test doing so with one in a set if you’re working with a set and then see what it looks like at night before deciding to do that all the way around.