*This post may contain affiliate links for which I earn commissions.*
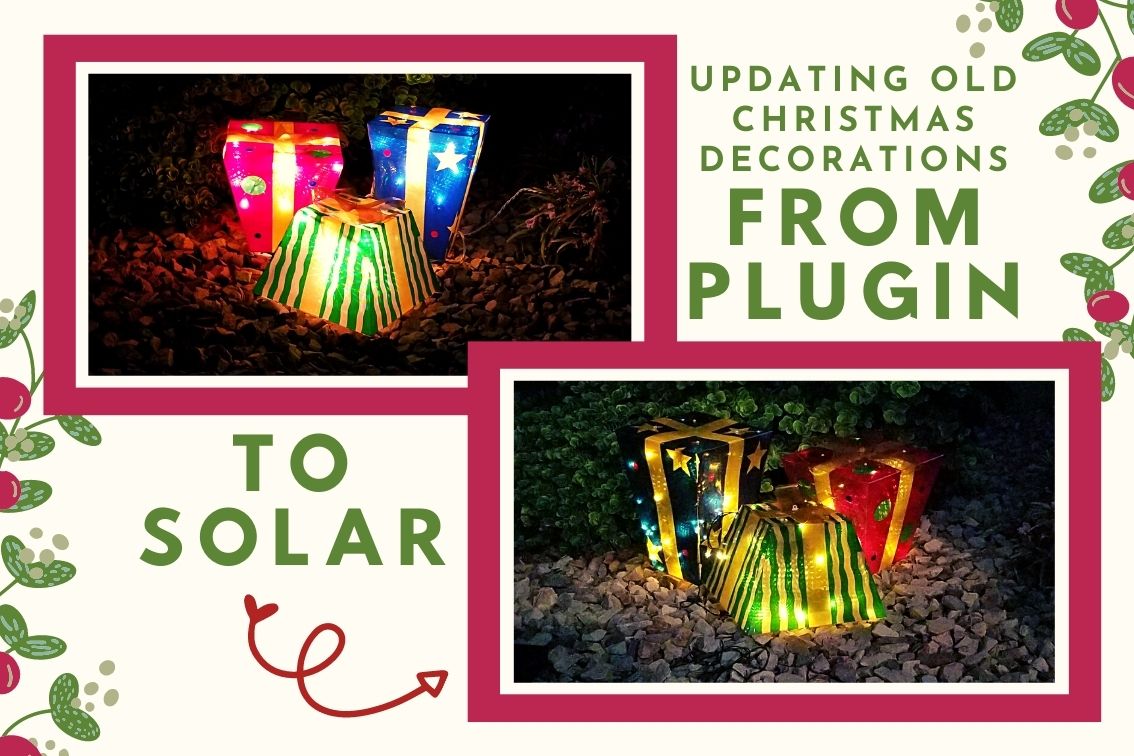
I swapped out the string lights in my Christmas presents yard decoration for solar ones and love the look. Here’s my simple fix and the steps I took along the way.
I’ve wanted to do this for a while now because I’m just so tired of fighting with extension cords and timers.
This was an easy change and a great first project before I get into doing the same for some of my more complicated decorations – like my standing reindeer.
Now I can put this wherever I want in my yard that has enough sun (of which I have plenty) without having to worry about reaching an outlet.
I thought about just replacing them but I can’t even find a solar set so retrofitting the ones I have seemed the best option.
Plus, I’d be saving money, and no matter how little the amount might seem it does add up over time.
I’ve had this set for probably more than 10 years. I love that they’re so colorful. They’re made of a PVC that’s held up pretty well, all things considered.
While the instructions below are specific to my decoration they can be applied to almost any style you have that has removable lights.
Check How the Old Lights are Attached
Before you take on this project you want to understand how your old lights are attached so you’ll know whether or not they’ll be easy to remove.
I took a look at all of my decorations and I found five ways in which lights were secured.
The first style has string lights that are simply placed inside parts of the decoration. They’re loose and easy to remove.
The second style has string lights that have clips or channels that hold the cord in place along a frame. You can usually pop the cord out by pulling on it or be using a screwdriver to get underneath it and pry it out but make sure that’s the case before you do anything else.
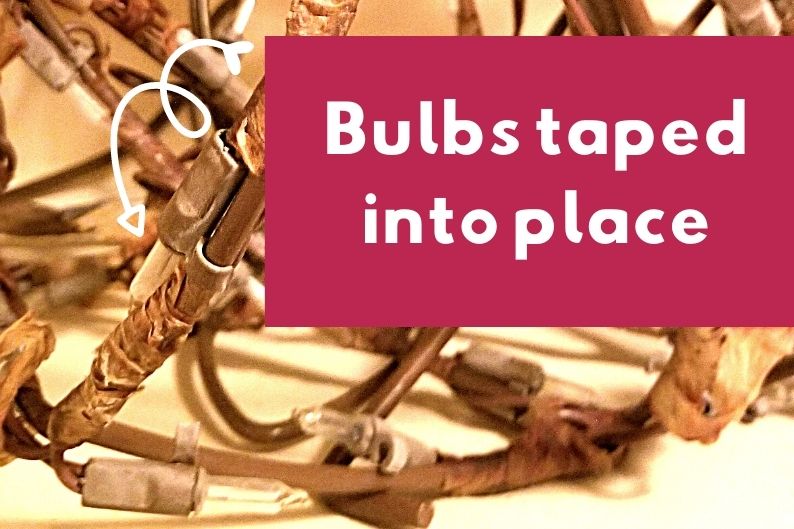
The third style uses tape to bind the string lights to the frame of the decoration. My deer is done with that method. It could take a lot of work to remove the older lights. I’ve thought about just leaving them on and wrapping new lights over the old ones for that project.
The fourth has bulbs that poke through a plastic decoration while the cord is taped to the back.
The fifth has the bulbs sandwiched in between layers of fabric or plastic which may or may not come apart.
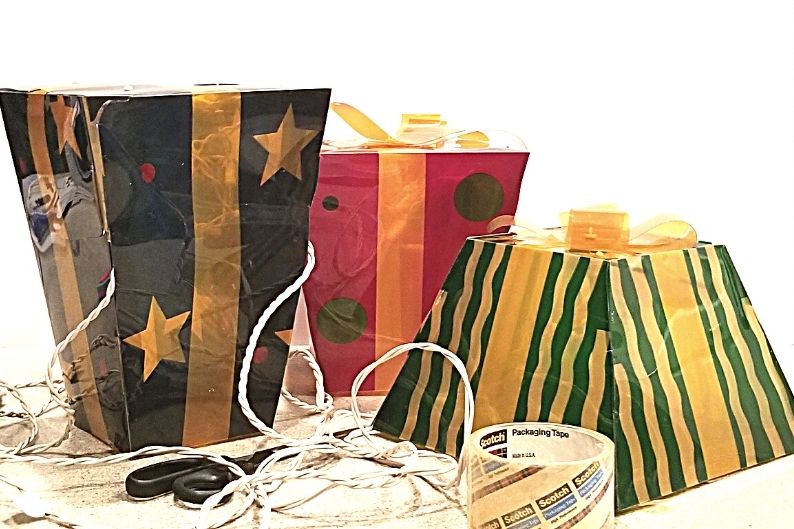
My Christmas present decoration has three boxes of different geometric shapes made of a sturdy yet pliable PVC material that is transparent and colored.
The material was folded together and the sides were secured with tabs that fit into matching slots on the opposite edge. I checked to make sure that I could undo the tabs and access the lights inside.
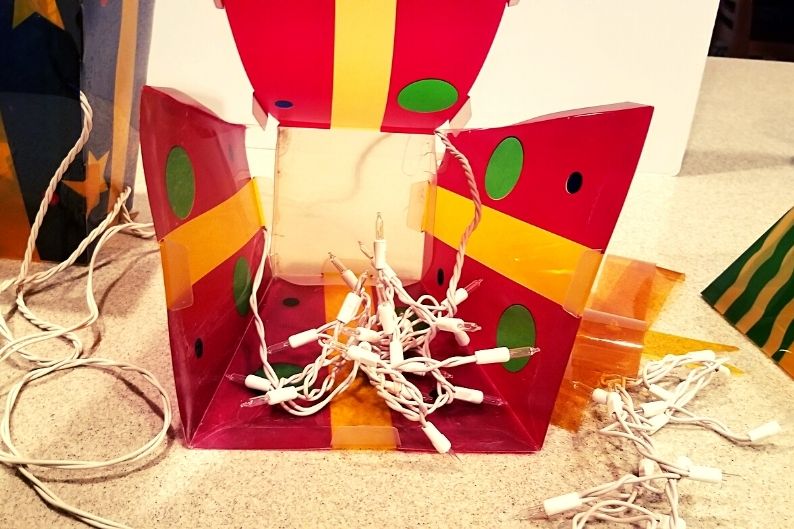
Four white clips were attached to the underside of the top of each package. The light cord was pushed into each of those clips to hold the lights up so that they’d fill the interior of the decoration from top to bottom.
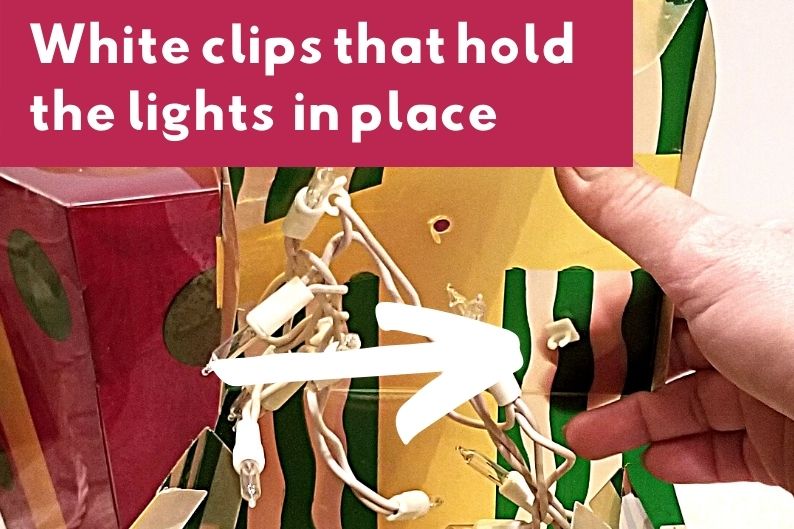
I made sure that I could remove the cord from those clips and push a new cord in place.
Don’t remove your lights just yet. You don’t want to do that until you’re sure you can find a good replacement set. You only want to check that you can remove them and have an idea about what you’ll have to do to replace them.
Choosing the Replacement Lights
The next step is to figure out the style of lights used in the decoration so you can find a solar replacement that has similar characteristics.
My decoration used one string of warm white icicle lights that ran from the inside of one present, out to the second present, and then in and out of the third present from which extended the cord end.
The bulb style was mini – those small, thin ones that have a little point at the end.
The cord was white and there were stretches that had no lights at all. This was designed so that the cord between each present would have no bulbs.
I didn’t measure the length but I would for bigger, more complex projects. For this one, I could tell that I’d just need one long string.
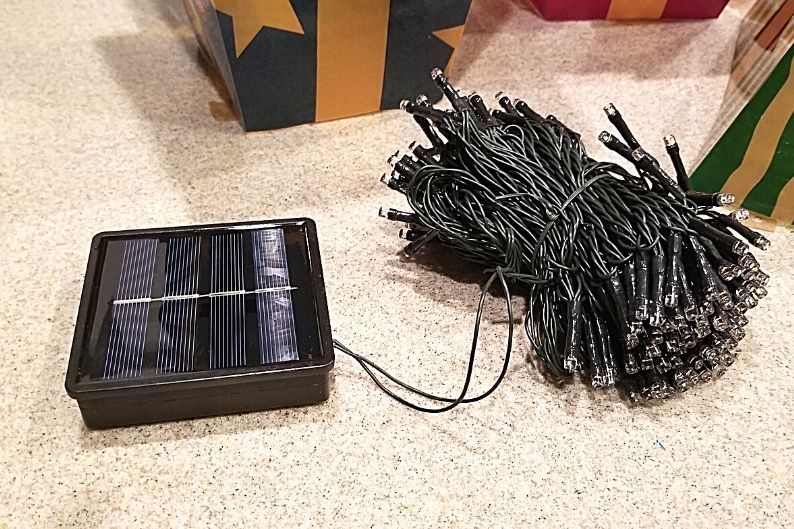
I couldn’t find any that had a white cord. At the time, I could only find these solar string lights with dark green wire but because I use this decoration on brown gravel or grass the darker color worked better for me.
I have since found a solar icicle set with a clear cord but I’m glad I didn’t go with that one for this decoration because of the bulb-less gaps in the original cord.
Since the string has to go from one present to the other I would have had lengths of icicles in between the presents that would have been harder to disguise than just the small bulbs on the replacement set I chose.
I also went with a bulb that had a different shape but I knew it would work because this decoration just needs a bunch of bulbs inside each present that light up. The shape wasn’t important.
The set I chose had an added feature – the ability to change modes from steady to flashing and everything in between. This was more than I had with the initial set and a definite step up!
For any similar project keep the following in mind when choosing the new lights:
Test your new lights before you use them in your decoration.
Leave them out in the sun for a full day or two, turn them on, and let them run all night to make sure they stay bright for at least six hours.
You don’t want to go through the work to attach them to your decoration and find out you have a bad set!
Removing the Old Lights
Once you’ve purchased the replacement lights you want to double-check that the size will work for your decoration and, assuming everything looks good, begin removing the old lights.
Take pictures of your decoration from all angles just to be safe – especially where there are any joins that you’re going to have to undo. This will make reassembling the presents go more smoothly later.
You’ll want to make note of the following:
I started with the last present in my set and slowly pulled the tabs out of their slots so I could reach the interior.
Those tabs are a pain and if you pull too hard they’re likely to rip so if you have something similar go slow.
I found the best approach was to push the tab to one side, pull that side out first, and then slide the other side out.
When you can safely do so, remove the old plug-in lights.
Along the way I counted the number of bulbs in each present and found that the first had 15, the second had 24, and the last one (the taller one) had 30.
I wrote each number down on post-it notes and attached it to the corresponding present so I wouldn’t forget.
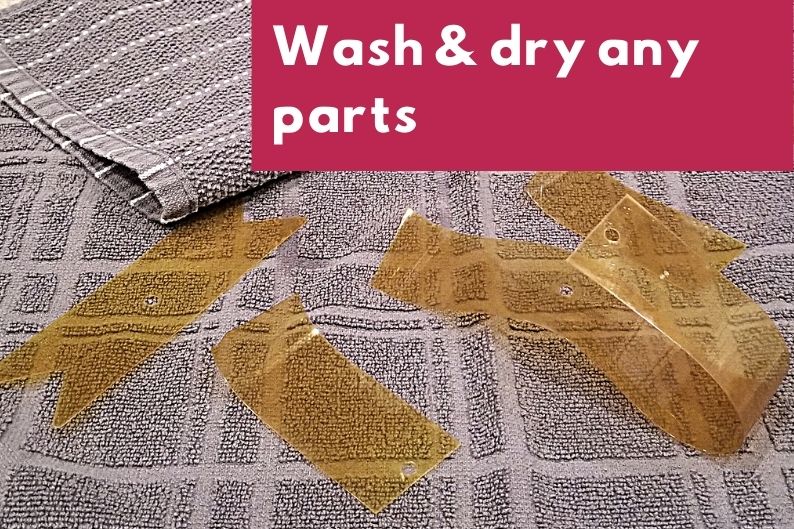
Clean and Repair the Decoration
Once you have the old lights out it might be a good opportunity to clean your present boxes and make any necessary repairs.
Although mine has been stored inside all year it was still really dusty and dirty. Because there was no longer anything electrical attached I washed the parts in soapy water in the kitchen sink and let them dry (even the plastic bows on top).
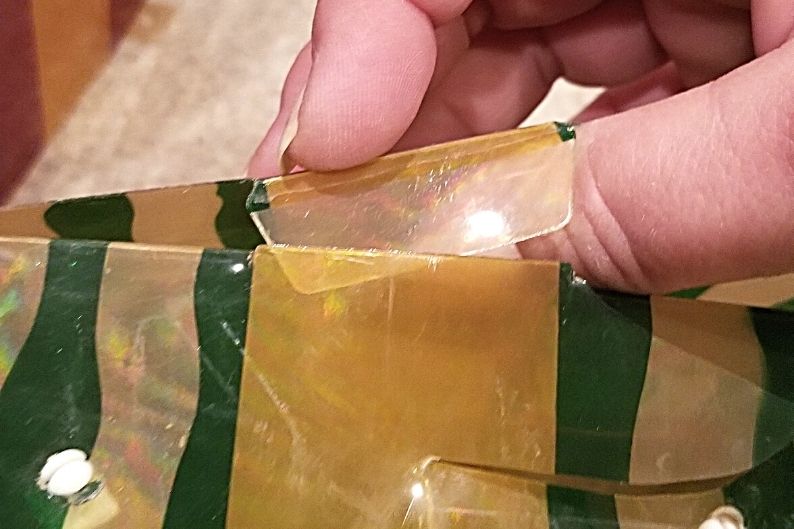
I also had cracks in two of the presents. The sun here is brutal and plastic dries out over time making it brittle.
I used clear packing tape to repair the cracks and then used the handle of my scissors to press all the air out from under the tape to make it as invisible as possible.
Attaching the New Lights
Finally, you want to attach the solar lights to your decoration using the same method that was used for the plug-in lights as best you can.
My decoration had more lights in each successive present to account for the increasing size and the cord was run into the right side of each at the back and then out the left side to extend to the next present.
I put the far end of the solar light set into the first present and put an additional handful of bunched-up cord into the interior.
I needed to press the cord into the four clips at the top of the interior so that the lights would drape from the top down and fill the present but the cord was too thick.
Fortunately, it was made of three twisted strands that were easy to separate so I could put just two of the strands into the clips.
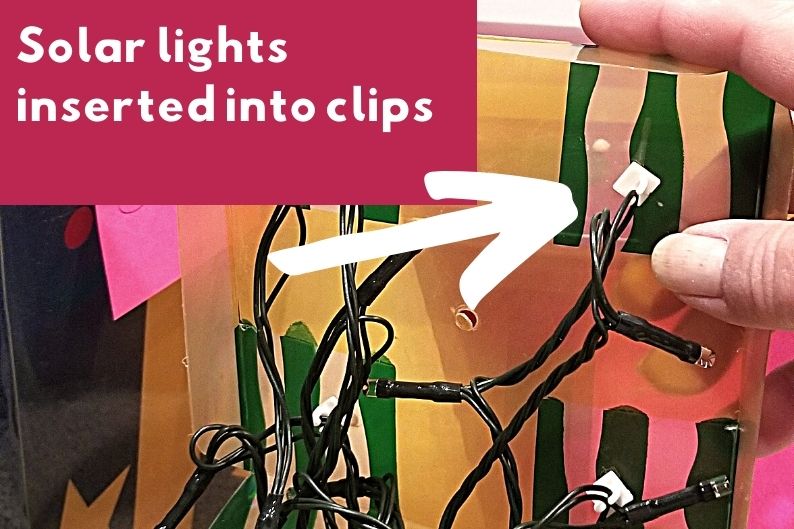
Because the point of the clips was to hold lights into place at the top, I made sure to leave some space between sections of the cord that were pushed into the clips. This way the lights drip from one clip down to the bottom and then come back up again to the next clip and so on.
I then fed the cord out the backside of the first present and secured all the tabs on that one so it would stay together while I worked on the other two.
I repeated the steps to feed the cord into the second present, put a slightly larger number of bulbs into the interior, secured the cord into the four clips, fed the cord out the other side at the back, and inserted all the tabs.
I did the same for the third present and then had the end of the cord with the solar panel attached coming out of its far side.
The only difference is that the replacements lights have bulbs all along the cord so I now have lights in between the presents but they’re small and as long as no one steps on them I shouldn’t have any issues.
My Updated Solar Christmas Presents Decoration
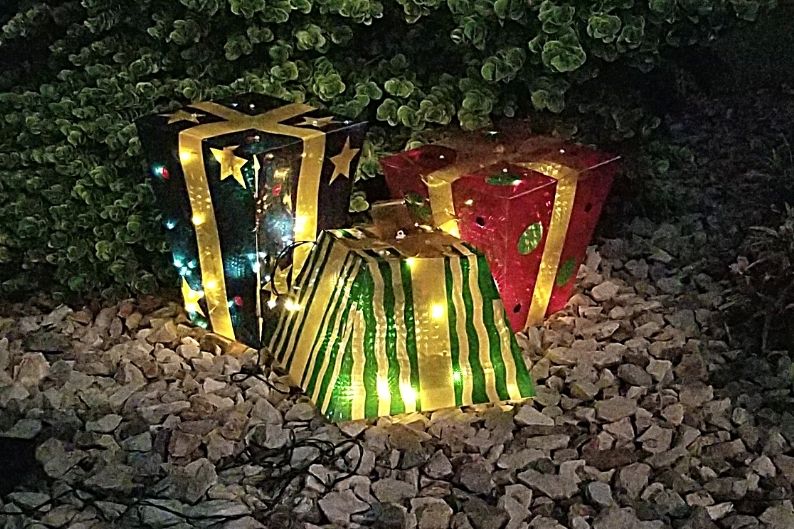
When I was done I had a cleaned, repaired Christmas presents decoration to use outside now lit with solar lights that no longer needed to be plugged in.
I should get many more years of use before I might have to replace the batteries in the solar panel or string a new set of lights through it.
The replacement lights aren’t quite as bright as the old ones and I think that’s because of the bulb style I chose but I think it looks great.
There’s even a sort of holographic effect inside the presents because of the way the LED bulbs interact with the stripes of gold in the PVC. The boxes are more vivid and distinct now.
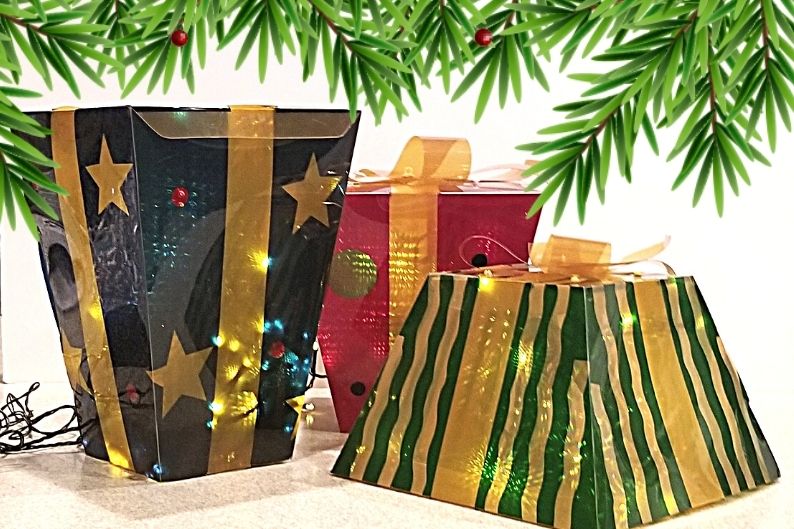
Here’s how the decoration looked before:
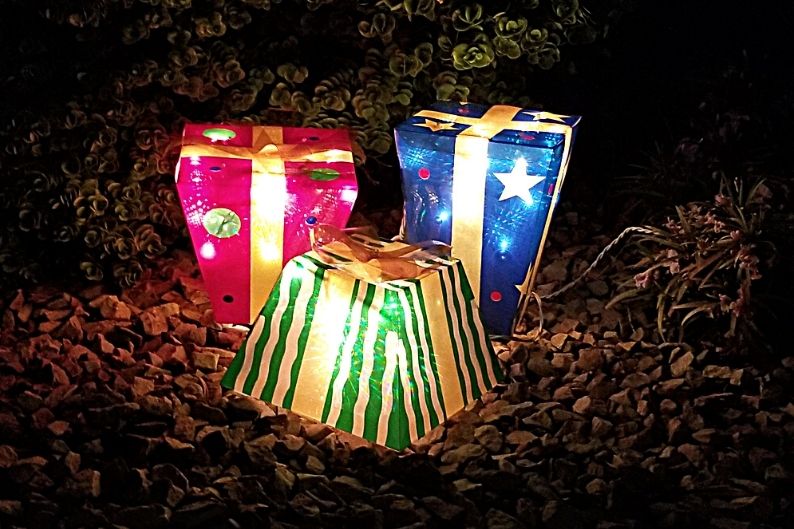
Here’s how it looks after:
On to the next project!