*This post may contain affiliate links for which I earn commissions.*
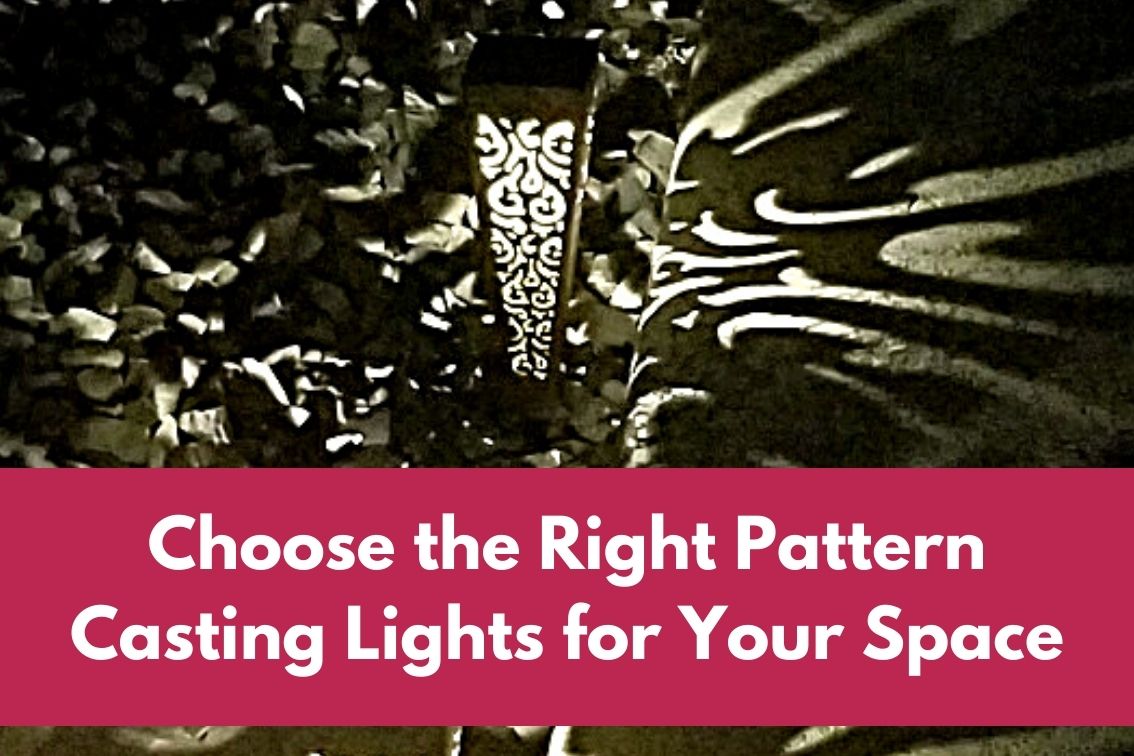
You know those solar lights that have cutouts in the covers so that they cast a pattern on the ground?
They’re used to create interesting shadows of light on the ground.
Some people want them so they’ll shine on the edges of a walkway while others might want them to overlap so that an entire area of the ground is covered in the pattern.
Knowing how you want to use them is the first step but if you don’t pick the right style you might not be pleased with the results.
The first ones I ever saw had leaf print cutouts in the plastic light covers so that the light on the ground looked like swirls of leaves.
For someone who misses the traditional fall season and colors of the northeast where she grew up, I was fascinated with the concept.
Then I saw a set that had swirl cutouts and that was it. I love curlicue prints so I bought them to line a sidewalk that runs along the back edge of our swimming pool. (I even made a wall torch out of one of them!)
It was only after I spent time setting them up that I realized they didn’t give off the lighting effect I’d hoped for.
They’re really pretty but they’re just not tall enough nor bright enough for how I wanted to use them.
These were just a couple of things I didn’t think about before I bought my set.
My five tips below will help you choose a style that has the right light intensity, shape, and height to provide a final pattern on the ground just the way you want.
Lumens Can Determine How Many You Need
I know, of course, that light intensity fades the further it is removed from the source but I wondered if there was some sort of mathematical equation that would help one calculate how many solar lights one would need in order to cover an area with patterned light without having any gaps.
It turns out there is and it’s called the Inverse Square Law. It is used to determine the degree to which light intensity is reduced across distances. Basically, intensity is reduced to 25% at twice the distance.
This means the intensity of light emitted at two feet from the source is 25% of the intensity you see at one foot.
That’s a pretty big drop but that didn’t really help me understand what that meant visually. What would that decrease look like to the naked eye?
I decided to conduct some tests using one of my own patterned lights.
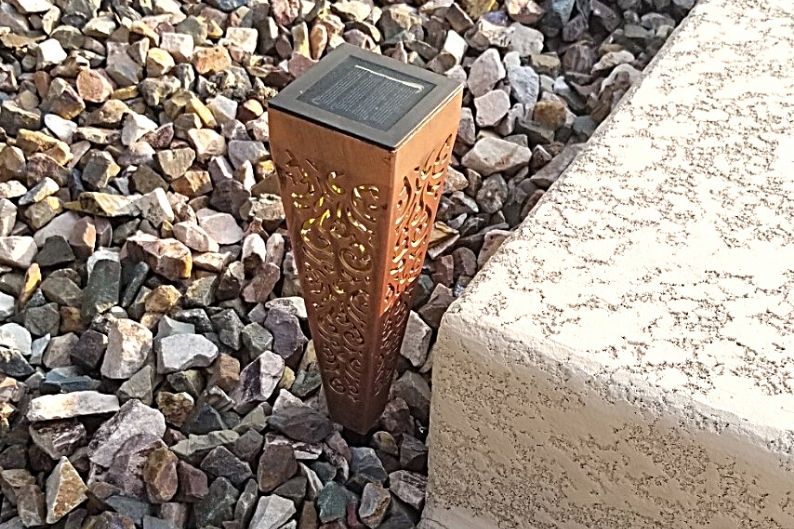
These are the ones I have – they’re a copper color and have four sides that narrow to a point at the base:
I took one that was fully charged into my completely dark closet.
I then removed the stake from the bottom of the light and set it flat on a white display board.
I laid a tape measure out starting at the center of the light source so I could see the light intensity at 12 inches and 24 inches.
This was the result:
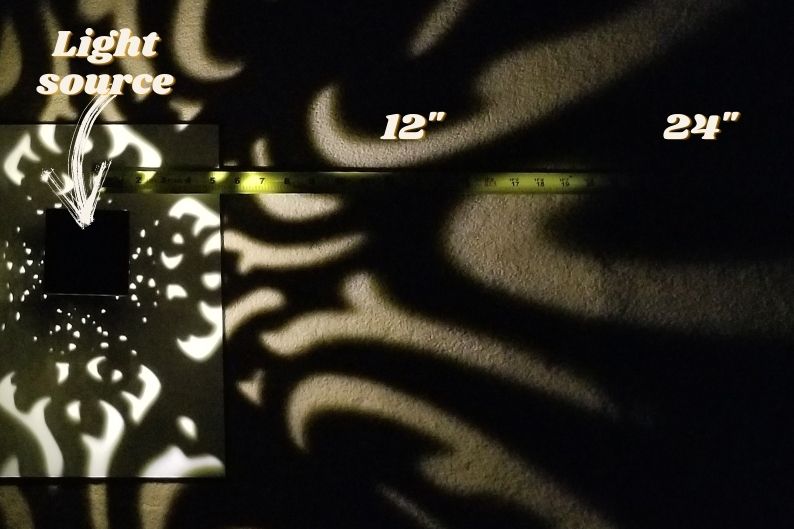
Not only is there a very clear drop-off in intensity at 24 inches but the pattern itself gets larger and less defined as the rays of light reach further out.
Here’s where lumens make a difference. Lumens tell you how bright a light is at its source.
My solar light stakes have 8 lumens. I don’t know what the intensity fades to at one foot but I know that at 2 feet it’s 25% of that total which means it’s something less than 2 lumens!
At 8 lumens, I would need to place my lights about a foot apart to have a distinct, bright, pattern that was consistent across a stretch of ground or concrete.
For comparison’s sake, solar spotlights can put out 600+ lumens – a huge difference.
TIP: Pay attention to the lumens
If you want fewer lanterns but still want the pattern to completely cover an area, look for light sets that have more lumens. You’ll then be able to space them further apart and the intensity will be stronger than what you see in the image above.
Taller Lights Cover More Area
My solar lanterns are embedded next to a raised walkway around the back edge of our pool.
Since the level of the dirt is several inches below the edge of the walkway we don’t see the full height of the light from our patio.

The higher you position the light, the wider a pattern you get but the detail in the pattern is larger and dimmer at the edges than if it were closer to the ground.
The closer to the ground the light is placed, the tighter and brighter the pattern.
Only after I’d purchased mine did I see the ones my mother-in-law bought. Hers have a stake but with a flat base that looks like they’re just sitting on the ground. They’re tall enough so that the light pattern reaches out much further and maintains more detail.
I like the style and size of hers better but I prefer the pattern in mine.
Where you are going to place your lights should be considered before you choose the style to buy.
Is the ground lower than, higher than, or equal to the height of the surface you want to be lit?
If the ground is lower, you may want to go for taller solar patterned lanterns rather than shorter ones or plan on raising them using blocks or pots or get taller stakes so that the pattern will reach further.
TIP: If the ground is lower than the walkway, look for taller lights.
Just keep in mind that raising them also reduces intensity because you’re adding distance between the light source and the surface area (see the previous section).
The Style of the Base Makes a Difference
There are two main styles of patterned solar lights.
Lantern styles have flat bases and are portable. They can be used on patio tables or set on the ground and moved as needed. Some even have handles on the top so they can be hung on a hook.
Stake lights are meant to be planted in the ground or a planter filled with dirt and are meant to stay in one place.
The lantern style is often sturdier but since they’re not embedded in the ground they’re prone to getting knocked or blown over if used on the ground.
Again, you need to think about the area where you want to place the lights.
Not only will the area need at least 6 hours of sunlight in order to get enough power from the sun to charge the batteries but you need to make sure that you choose a style that will work best for that space.
TIP: Choose between stake and lantern styles depending on where you want to use them.
If you want to use them in a place where you don’t have ground in which to stick the stakes then you either need to choose the lantern style OR embed stake lights in something like a set of small garden pots you can fill with dirt or gravel.
If you’re lining a walkway that has dirt or gravel on either side then you probably want the kind with stakes.
Pay Attention to the Size of the Pattern Cutouts
The next decision to make has to do with the pattern itself.
I’ve seen prints that include details from nature like butterflies and flowers and others that have fleur de lis patterns and others that have geometrically shaped cutouts.
The choice makes a difference in both the overall ambiance as well as how much light you get on the ground.
The more cutout space there is in the pattern, the more light that gets emitted.
Look at the body of my solar lights, how thin the cutouts are, and how far apart they’re placed:

This type of cutout limits the amount of light that comes out but gives more defined detail in the final pattern on the ground – at least close up to the base.
It was just right, though, for lighting my patio coffee table when I placed it in a vase.
Others have larger cutouts with wider openings. This means there’s less material in the sidewalls that block the light so you get more light and pattern on the ground.
TIP: Pay attention to the cutout style and thickness.
Obviously, you want to choose a pattern that you like and matches your style, too, but also pay attention to the size of the cutouts.
Bulb Location Can Make the Shadow Pattern Uneven
In most patterned solar lights, the bulb is going to be located at the top of the lamp because that’s where the solar panel and battery are stored.
This applies to both the lantern and stake styles but the type of bulb and how it’s affixed to the cap at the top of the light can make a difference.
Mine have one, very small bulb glued into each cap. Glued bulbs can result in some lights in the set appearing to emit more or less light than others.
I noticed this when taking the test photos in my closet.
See how the pattern in the image below is much brighter on the left than on the right?
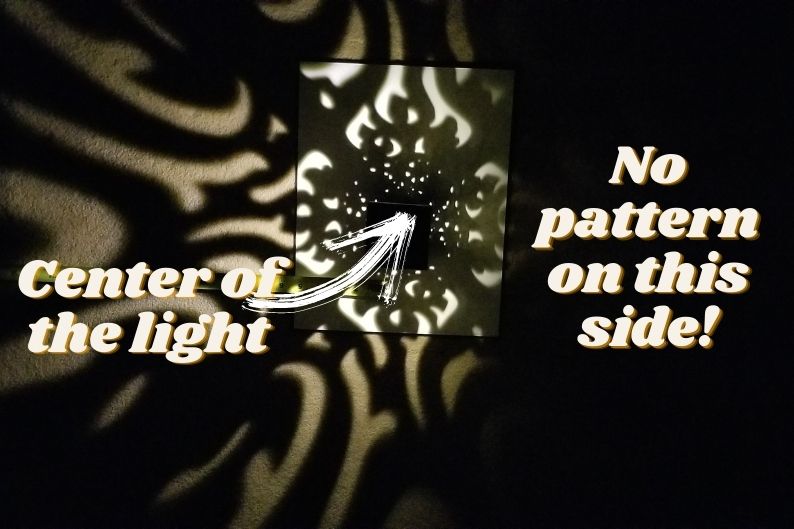
I removed the cap and found that the tiny bulb glued into the top was skewed such that it pointed strongly to one side:
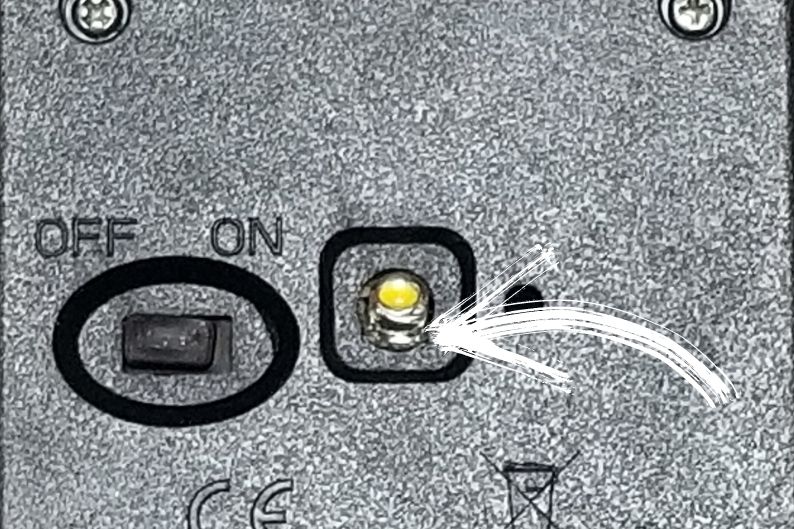
You can see that the bulb (the yellow oval) is not centered but is pushed towards the top of the circle with a large glob of glue underneath. This has caused the light to come out more strongly on one side.
Now that I know this I can place the brighter side of the stake light towards the area where it will be most visible.
Other styles encase the bulb in a circle or rectangle indent that perfectly matches the shape of the bulb. This type is often more consistently centered.
Whether you’re shopping for these in person or online check out how the bulb is attached inside the cap before buying.
TIP: Look at how the bulbs are attached.
I know it seems like a lot to think about but if you take the time to think through these tips before you pick your own set you’ll be much happier with the final look.